


Can I install solar film window tint myself?
As a supplier of Solar Film Window Tint, I often get asked by customers whether they can install the solar film window tint themselves. This is a valid question, and the answer isn't a simple yes or no. It depends on several factors, including your level of DIY skills, the complexity of the installation, and the type of vehicle or property you're working on.
The Appeal of DIY Installation
There are several reasons why someone might want to install solar film window tint themselves. The most obvious one is cost. Hiring a professional installer can be expensive, and doing it yourself can save you a significant amount of money. Additionally, some people enjoy the challenge of a DIY project and the sense of accomplishment that comes with completing it successfully.
Another advantage of DIY installation is the flexibility it offers. You can work at your own pace, choose the time that's most convenient for you, and take as many breaks as you need. This can be especially beneficial if you have a busy schedule or if you prefer to work in the comfort of your own home.
The Challenges of DIY Installation
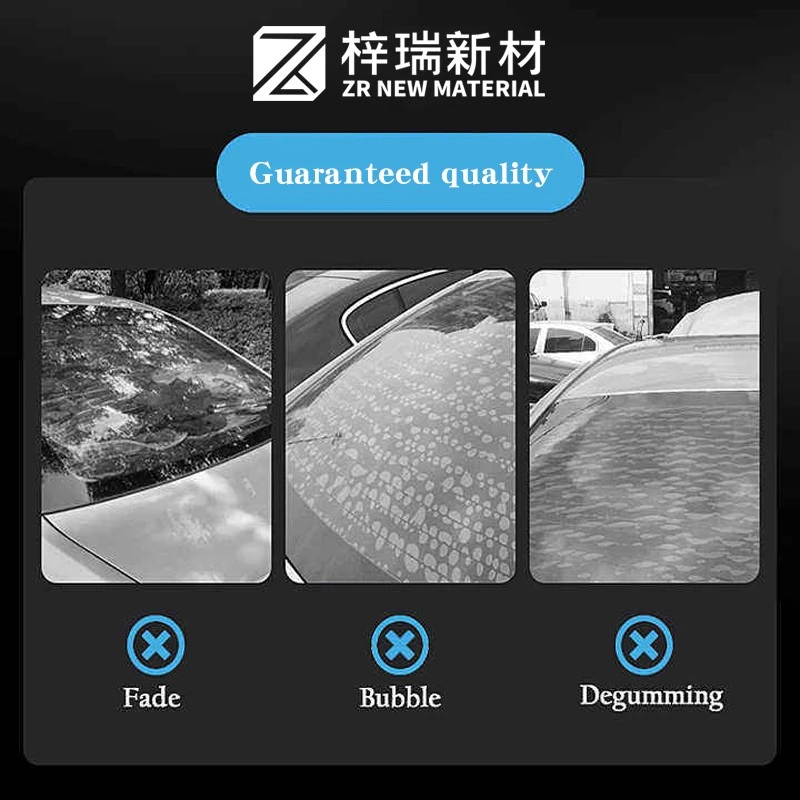
However, installing solar film window tint is not without its challenges. One of the biggest challenges is getting a smooth, bubble-free installation. Even a small bubble or wrinkle can be noticeable and can affect the appearance and performance of the tint. Achieving a professional-looking finish requires patience, precision, and the right tools.
Another challenge is ensuring that the tint is cut to the correct size and shape. This can be particularly difficult for curved or irregularly shaped windows. If the tint is not cut correctly, it may not fit properly, leaving gaps or overlaps that can allow sunlight and heat to penetrate.
In addition, working with solar film window tint requires a clean and dust-free environment. Even a small piece of dust or debris trapped between the tint and the window can cause a blemish or a bubble. This means that you need to take extra care to clean the windows thoroughly before installation and to work in a clean, well-ventilated area.
Skills and Tools Required
To install solar film window tint successfully, you need to have a certain level of DIY skills and the right tools. Some of the basic skills you'll need include the ability to measure accurately, cut straight lines, and apply pressure evenly. You'll also need to be comfortable working with your hands and have good hand-eye coordination.

As for tools, you'll need a few essential items, including a sharp utility knife, a squeegee, a spray bottle filled with soapy water, and a heat gun. The utility knife is used to cut the tint to size, the squeegee is used to smooth out the tint and remove any bubbles, the spray bottle is used to wet the window and the tint to make it easier to apply, and the heat gun is used to shrink the tint and conform it to the shape of the window.
Step-by-Step Guide to DIY Installation
If you're determined to install solar film window tint yourself, here's a step-by-step guide to help you get started:
- Prepare the Window: Start by cleaning the window thoroughly with a glass cleaner and a lint-free cloth. Make sure to remove all dirt, dust, and fingerprints. You can also use a mild detergent if necessary. Rinse the window with clean water and dry it completely.
- Measure and Cut the Tint: Measure the window carefully and add a few extra inches to each side to allow for trimming. Use a sharp utility knife to cut the tint to size. Make sure to cut the tint on a clean, flat surface and to use a straight edge to guide your knife.
- Wet the Window and the Tint: Fill a spray bottle with soapy water and spray the window generously. Then, spray the adhesive side of the tint with the soapy water. The soapy water will make it easier to position the tint on the window and to remove any bubbles.
- Apply the Tint: Carefully place the tint on the window, starting at the top and working your way down. Use a squeegee to smooth out the tint and remove any bubbles. Start from the center of the tint and work your way out to the edges. Make sure to apply even pressure to the squeegee to avoid creating wrinkles or bubbles.
- Trim the Excess Tint: Once the tint is applied, use a sharp utility knife to trim the excess tint around the edges of the window. Make sure to cut the tint as close to the window as possible to avoid leaving any gaps.
- Shrink the Tint (Optional): If you're working with a curved or irregularly shaped window, you may need to use a heat gun to shrink the tint and conform it to the shape of the window. Hold the heat gun about 6 inches away from the tint and move it back and forth in a circular motion. Be careful not to overheat the tint, as this can cause it to bubble or wrinkle.
- Final Touches: After the tint is applied and trimmed, use a clean, dry cloth to wipe away any excess water or soap. Then, let the tint dry for at least 24 hours before rolling down the window or cleaning it.
When to Hire a Professional
While DIY installation can be a rewarding experience, there are some situations where it's best to hire a professional installer. If you're not confident in your DIY skills or if you're working with a complex window shape or a large number of windows, it's probably a good idea to leave the installation to the experts.
Professional installers have the experience, skills, and tools necessary to ensure a smooth, bubble-free installation. They also have access to high-quality tinting materials and can provide a warranty on their work. This can give you peace of mind knowing that your tint will look great and perform well for years to come.
Our Products and Services
As a supplier of Solar Film Window Tint, we offer a wide range of high-quality tinting products to meet your needs. Our tints are designed to block harmful UV rays, reduce heat and glare, and enhance the privacy and appearance of your vehicle or property.
In addition to solar film window tint, we also offer Premium Color Change PPF - High Gloss Car Paint Protection Wrap and Clear Paint Protection Film for Cars. These products are designed to protect your car's paint from scratches, chips, and other damage, while also giving it a sleek, professional look.
If you're interested in purchasing our products or if you have any questions about installation, please don't hesitate to contact us. Our team of experts is here to help you find the right product for your needs and to provide you with the support and guidance you need to install it successfully.
Conclusion
In conclusion, installing solar film window tint yourself can be a challenging but rewarding experience. It requires patience, precision, and the right tools, but if you're willing to put in the time and effort, you can achieve a professional-looking finish and save money in the process. However, if you're not confident in your DIY skills or if you're working with a complex window shape or a large number of windows, it's probably best to hire a professional installer.
As a supplier of Solar Film Window Tint, we're committed to providing our customers with high-quality products and excellent customer service. Whether you're a DIY enthusiast or you prefer to hire a professional, we're here to help you find the right solution for your needs. So, if you're interested in purchasing our products or if you have any questions, please don't hesitate to contact us. We look forward to hearing from you and helping you enhance the comfort, privacy, and appearance of your vehicle or property.
References
- "Window Tinting: A Comprehensive Guide." Car and Driver.
- "How to Install Window Tint." Popular Mechanics.
- "The Benefits of Solar Film Window Tint." Energy.gov.