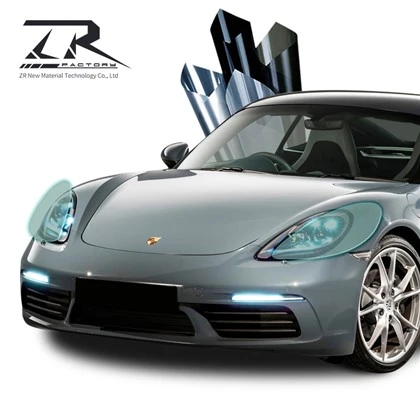


Installing vehicle paint protection film (PPF) is a meticulous process that can significantly enhance the longevity and appearance of your vehicle's paint job. As a leading supplier of high - quality vehicle paint protection film, I'm here to guide you through the installation process step by step.

Preparation
Before you start the installation, gather all the necessary tools and materials. You'll need a spray bottle filled with a soapy water solution (a mixture of water and a few drops of mild dish soap), a squeegee, a heat gun, a utility knife, and of course, the paint protection film. Make sure the film is the right size and shape for the area of the vehicle you're covering.
First, thoroughly clean the surface of the vehicle where you'll be applying the film. Use a high - quality automotive cleaner to remove dirt, grime, wax, and any other contaminants. A clean surface is crucial for proper adhesion. Dry the surface completely with a microfiber cloth to prevent any water spots or bubbles from forming under the film.
Measuring and Cutting the Film
Unroll the paint protection film on a clean, flat surface. Measure the area of the vehicle you want to cover accurately. Add a little extra length and width to the measurement to ensure full coverage. Use a straight edge and a utility knife to cut the film to the appropriate size.
It's important to note that our TOP Series: ToP8 Clear TPU PPF is designed to be highly flexible and easy to cut. Its precision - engineered material allows for clean and accurate cuts, ensuring a perfect fit for your vehicle.
Applying the Soapy Water Solution
Spray the soapy water solution generously on the cleaned surface of the vehicle and on the adhesive side of the paint protection film. The soapy water acts as a lubricant, allowing you to move the film around easily and position it correctly without it sticking immediately.
Positioning the Film
Carefully place the film on the wet surface of the vehicle. Start from one end and gradually lay it down, smoothing out any wrinkles or air bubbles as you go. Use a squeegee to gently push the water out from under the film. Work from the center of the film towards the edges to ensure even distribution of pressure.
If you encounter any stubborn air bubbles, you can use a heat gun on a low setting to warm the film slightly. This will make the film more pliable and allow the bubbles to escape more easily. However, be careful not to overheat the film, as this can cause it to warp or damage the adhesive.
Trimming the Excess Film
Once the film is properly positioned and all the air bubbles are removed, use a utility knife to trim the excess film along the edges of the vehicle. Make sure to cut as close to the edge as possible for a clean and professional look.
Finishing Touches
After trimming, go over the film again with the squeegee to ensure maximum adhesion. Wipe away any remaining soapy water with a clean microfiber cloth. Let the film dry completely for a few hours before exposing the vehicle to any harsh conditions.
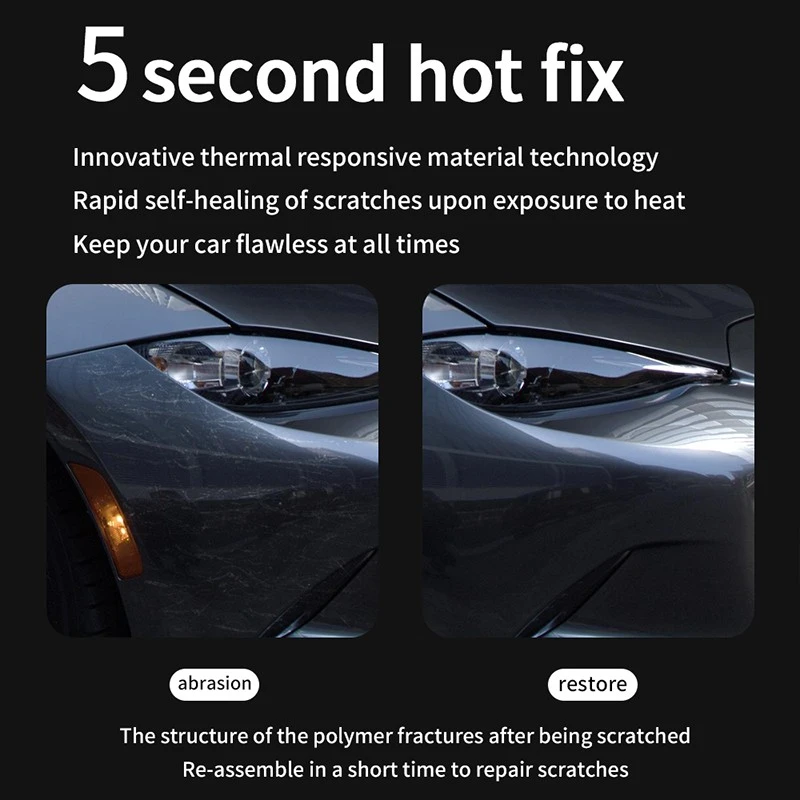
Our Self - Healing Clear PPF Film has a unique self - healing property. Minor scratches and swirl marks on the film will disappear over time, keeping your vehicle looking brand new.
Headlight Protection
In addition to protecting the paint on your vehicle, you can also use paint protection film to safeguard your headlights. Our Golden Headlight Armor is specifically designed to protect headlights from scratches, UV damage, and yellowing.
The installation process for headlight protection film is similar to that of the vehicle paint protection film. Clean the headlights thoroughly, measure and cut the film, apply the soapy water solution, position the film, and trim the excess. The film will provide a clear, protective barrier that allows your headlights to shine brightly while keeping them safe from damage.
Tips for a Successful Installation
- Work in a Clean Environment: Dust and debris can get trapped under the film, causing imperfections. Choose a clean, well - lit area to perform the installation.
- Take Your Time: Rushing through the installation can lead to mistakes. Be patient and take the time to ensure each step is done correctly.
- Practice on a Small Area First: If you're new to installing paint protection film, practice on a small, inconspicuous area of the vehicle to get a feel for the process.
Why Choose Our Paint Protection Film
As a trusted supplier of vehicle paint protection film, we offer a range of high - quality products that are backed by years of research and development. Our films are made from premium materials that provide excellent protection against scratches, chips, UV rays, and environmental contaminants.
We also offer a long - term warranty on our products, giving you peace of mind knowing that your investment is protected. Whether you're a car enthusiast looking to protect your prized possession or a professional detailer, our paint protection film is the perfect choice.
Contact Us for Procurement
If you're interested in purchasing our vehicle paint protection film, we'd love to hear from you. Our team of experts is ready to assist you with any questions you may have and help you choose the right product for your needs. Reach out to us to start a procurement discussion and take the first step towards protecting your vehicle.
References
- Automotive Paint Protection Film Installation Guide - Industry best practices and standards.
- Vehicle Detailing and Protection Manual - Comprehensive information on vehicle protection products.