


What is the installation process for window tint?
As a seasoned window tint supplier, I've witnessed firsthand the transformative power of a well - installed window tint. Not only does it enhance the aesthetics of a vehicle or building, but it also offers a multitude of practical benefits such as heat reduction, UV protection, and increased privacy. In this blog, I'll walk you through the step - by - step installation process for window tint, sharing insights and tips gained from years in the industry.
Step 1: Preparation
The first and perhaps most crucial step in the window tint installation process is preparation. This involves gathering all the necessary tools and materials, as well as thoroughly cleaning the windows.
Tools and Materials
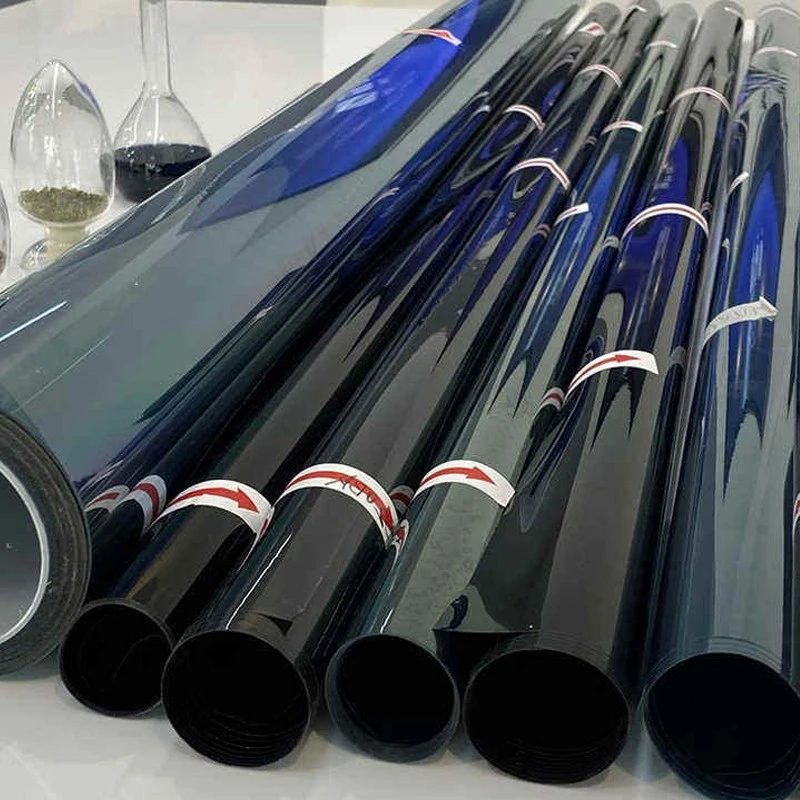
You'll need a sharp utility knife, a squeegee, a spray bottle filled with a soapy water solution (usually a mixture of water and a small amount of dish soap), a heat gun (for some applications), and of course, the window tint film. At our company, we offer a wide range of high - quality window tint options, including Car Tint, Window Tint, and Ceramic Tint. Each type has its own unique features and benefits, so it's important to choose the one that best suits your needs.
Window Cleaning
Cleaning the windows is essential to ensure a smooth and bubble - free installation. Start by using a glass cleaner and a lint - free cloth to remove any dirt, dust, or fingerprints from the window surface. Pay special attention to the edges and corners of the window, as these areas tend to accumulate more debris. After cleaning, rinse the window with clean water and dry it thoroughly to prevent streaks.
Step 2: Measuring and Cutting the Tint
Once the windows are clean, it's time to measure and cut the window tint film. This step requires precision and accuracy to ensure a perfect fit.
Measuring
Use a measuring tape to measure the dimensions of the window. Measure the height and width of the window, and then add a few extra inches to each measurement to allow for trimming. It's important to measure each window individually, as they may vary slightly in size.
Cutting
Lay the window tint film on a clean, flat surface with the protective backing facing up. Using a straight edge and a sharp utility knife, carefully cut the film to the appropriate size based on your measurements. Make sure to cut the film slightly larger than the window to allow for adjustments during installation.
Step 3: Applying the Tint
Now comes the exciting part: applying the window tint film to the window. This step requires patience and a steady hand to ensure a smooth and professional - looking installation.
Wetting the Window
Before applying the tint, spray the soapy water solution generously onto the window surface. The soapy water acts as a lubricant, allowing the tint to slide into place easily and reducing the risk of bubbles.
Removing the Backing
Carefully peel the protective backing off the window tint film, starting from one corner. As you peel the backing, spray the adhesive side of the film with the soapy water solution to keep it wet.
Positioning the Tint
Slowly lower the tint onto the wet window surface, starting from the top. Use your hands to smooth out the tint and remove any air bubbles as you go. Make sure the tint is centered on the window and aligned with the edges.
Squeegeeing the Tint
Once the tint is in place, use a squeegee to remove the excess water and air bubbles from between the tint and the window. Start from the center of the window and work your way out towards the edges, using firm, even pressure. Use a straight - edge squeegee for larger windows and a smaller, corner squeegee for the edges and corners.
Step 4: Trimming the Tint
After the tint is applied and most of the air bubbles have been removed, it's time to trim the excess tint from the edges of the window.

Trimming
Use a sharp utility knife to carefully trim the excess tint along the edges of the window. Make sure to cut as close to the window edge as possible for a clean and professional look.
Heat Shrinkage (Optional)
For some applications, especially on curved windows, you may need to use a heat gun to shrink the tint and ensure a tight fit. Hold the heat gun about 6 - 8 inches away from the tint and move it back and forth in a slow, even motion. As the tint heats up, it will shrink and conform to the shape of the window. Be careful not to overheat the tint, as this can cause it to bubble or warp.
Step 5: Final Inspection and Cleaning
Once the tint is trimmed and any heat shrinkage is complete, take a step back and inspect the installation for any remaining air bubbles or imperfections.
Bubble Removal
If you notice any small air bubbles, you can use a pin to puncture them and then squeegee them out. For larger bubbles, you may need to lift the tint slightly and re - squeegee the area to remove the air.
Cleaning
After the installation is complete, use a clean, lint - free cloth to wipe down the window and remove any excess water or soap residue. This will leave the window looking clean and professional.
Conclusion
Installing window tint is a rewarding process that can enhance the appearance and functionality of your vehicle or building. By following these steps and using high - quality window tint products, you can achieve a professional - looking installation that will last for years to come.
If you're interested in purchasing window tint for your next project, I encourage you to reach out to us. Our team of experts is here to help you choose the right tint for your needs and provide you with all the support and guidance you need throughout the installation process. Whether you're looking for Car Tint, Window Tint, or Ceramic Tint, we have the products and expertise to meet your requirements. Contact us today to start your window tint project!
References
- Window Tint Installation Guide - Professional Window Tinting Association
- How to Install Window Tint - DIY Auto Tint Tutorials